Hello World!
For this article, you will learn how to create your very first page using Ruby on Rails. Along the way, we will also briefly go over what makes a Ruby on Rails project works.
After creating your project, you may now access the default homepage of your application by typing localhost:3000 into your browser.
In order to create your own welcome page for this post, you need change the default homepage.
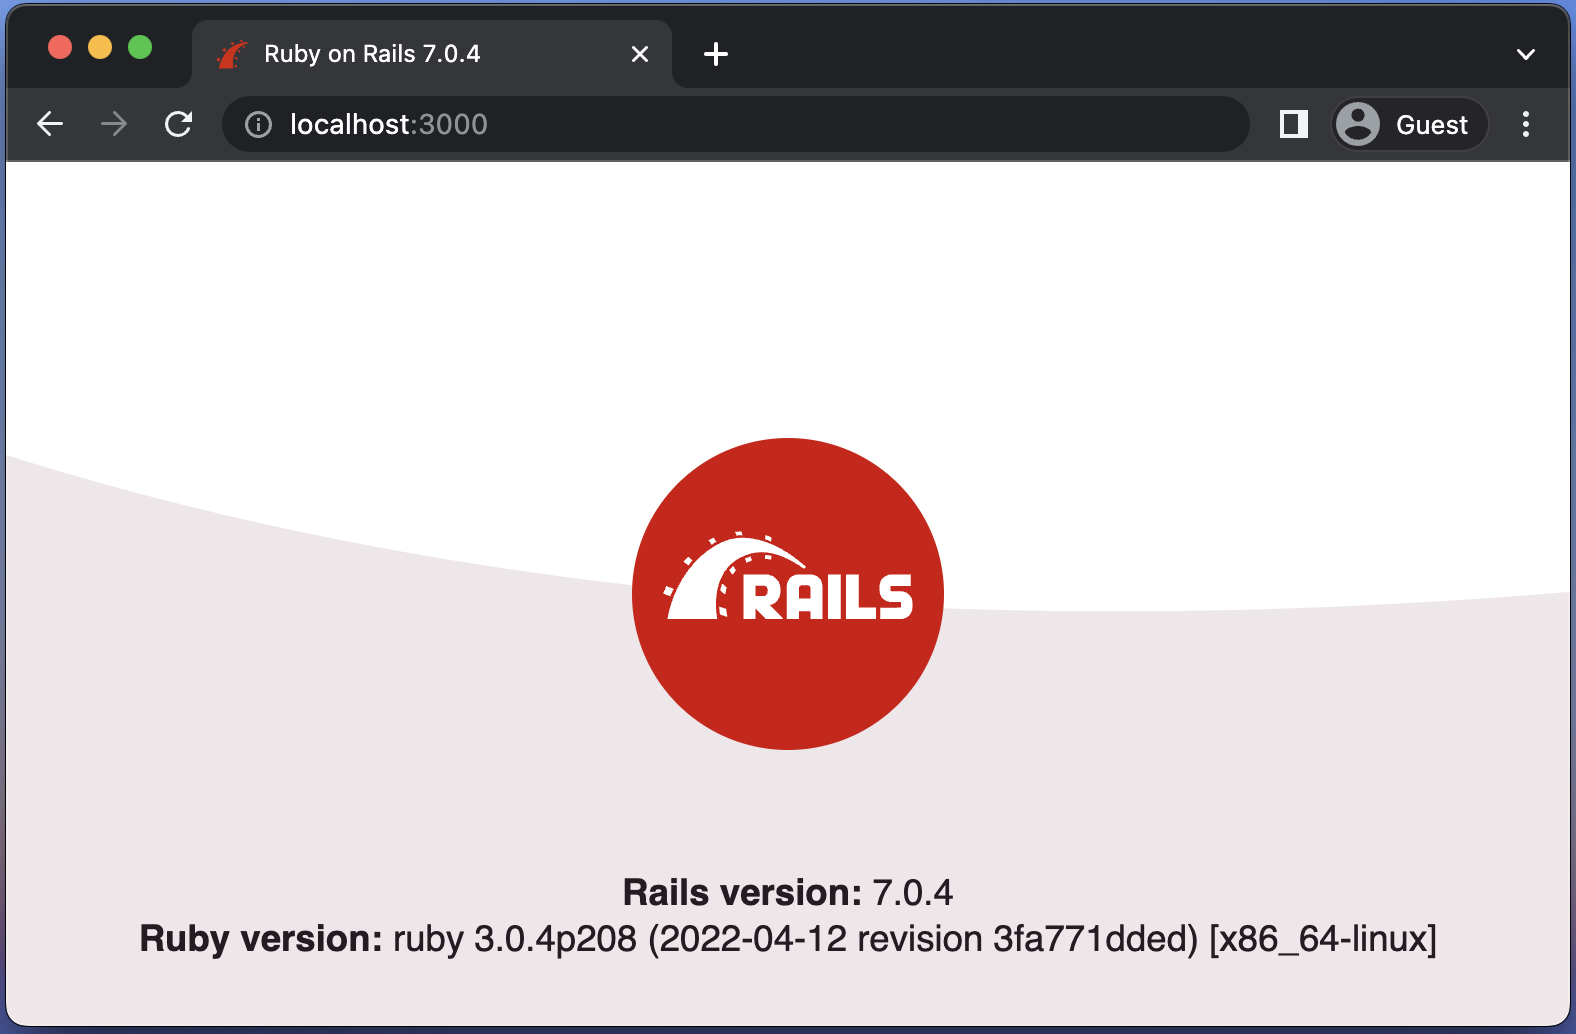
Table of contents
Route
All incoming requests to your web application are handled by routes. It accomplishes this by looking at the URL of incoming requests and then, using special syntax given in the routes file, mapping each request to the controller action in charge of handling it.
Now let’s create the route to our welcome page, routes file can be located at config/routes.rb. Uncomment the # root "articles#index" (remove #) and change it to root welcome#index.
# config/routes.rb

Rails.application.routes.draw do
  # Define your application routes per the DSL in https://guides.rubyonrails.org/routing.html

  # Defines the root path route ("/")
- # root "articles#index"
+ root 'welcome#index'
end
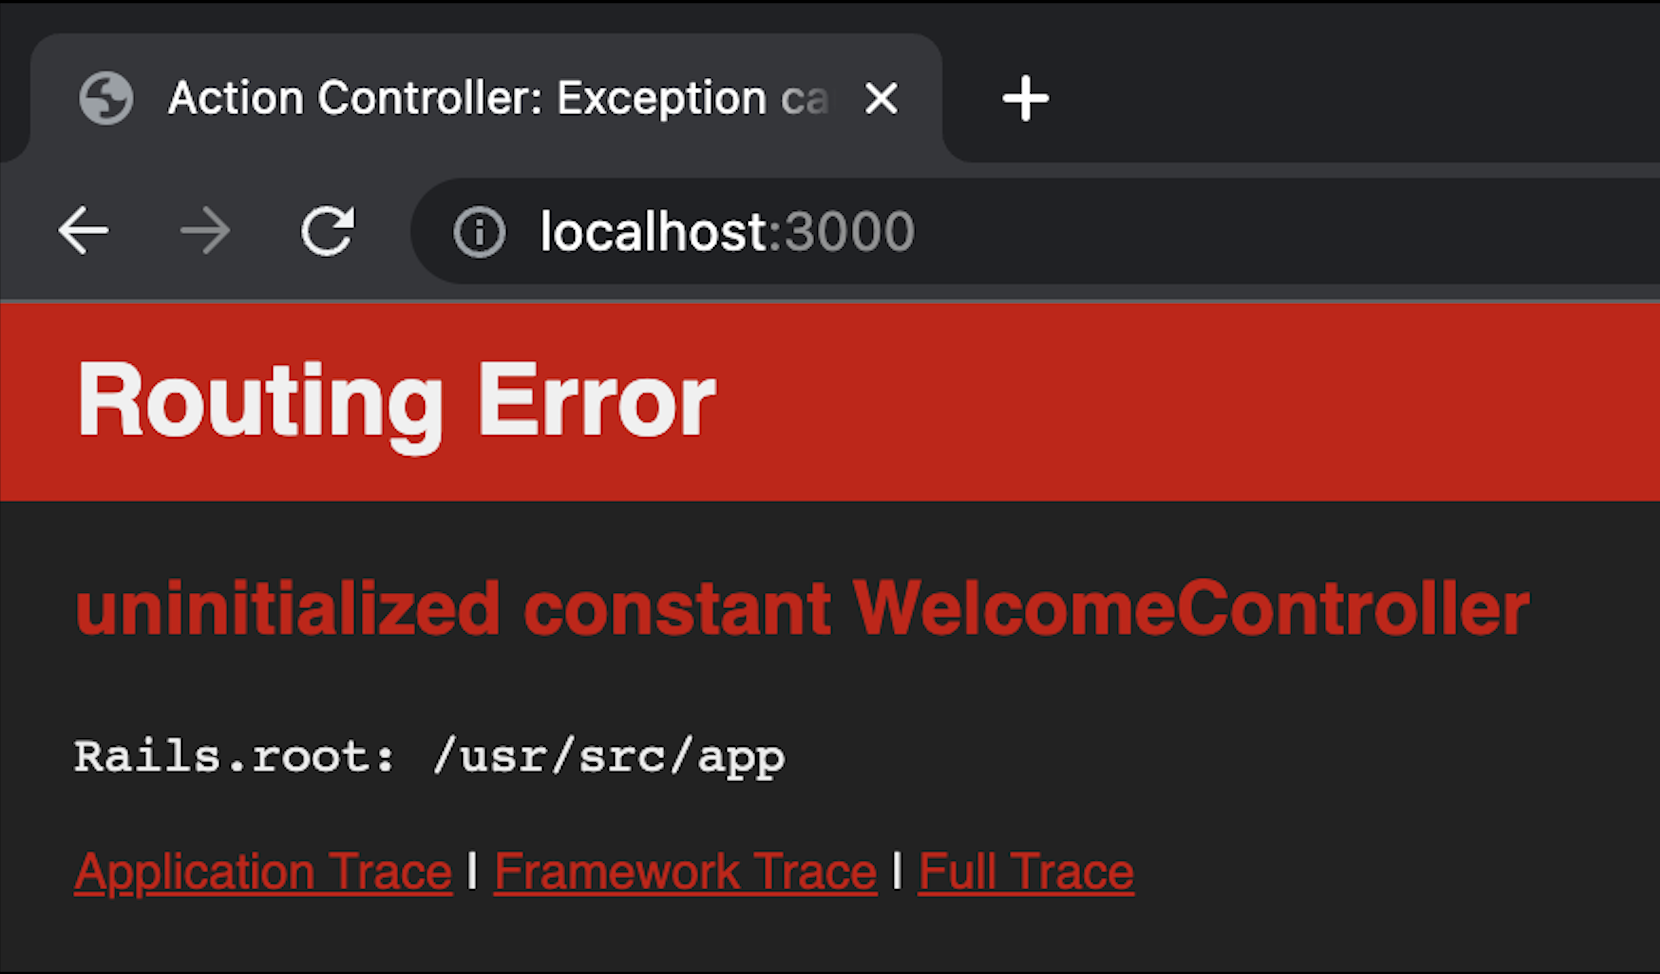
The root path will now point to your welcome controller. But when you try to access the localhost:3000, it will encounter an error since it wants to find your Welcome Controller, in which does not exist.
This brings us to our next topic, the Rails Controller.
Controller
The center of your web application is the Rails Controller. It makes communication between the user, the models, and the views easier and more coordinated. Your basic controller classes is commonly derived from the ApplicationController, which is descended from the ActionController class and contains code that may be executed in all other controllers. (Controller, Routes, and Views will be covered in further detail in Article CRUD)
Let us create our WelcomeController.
- Start your server.
- Generate controller by typing:
rails generate controller WelcomeController index --skip-routes --no-test-framework
root@0122:/usr/src/app# rails generate controller WelcomeController index --skip-routes --no-test-framework --no-helper
create app/controllers/welcome_controller.rb
invoke erb
create app/views/welcome
create app/views/welcome/index.html.erb
The last unfamiliar command created a bunch of files and was quite large, but we’ll go through each one and briefly explain what it does.
Generate
One effective technique for streamlining workflow in Rails is the generate command. For a project, you may instantly build boilerplate folders and files by using the generate command in the command line.
Generate command comes with options, in our case what we needed is a Controller, hence the command rails generate with option controller. After the option controller, we need to specify the name of our controller which will be WelcomeController and in here, you can put a specific action that you want, since we only need index, we included it in our command.
Generate command builds a lot of folders and files. Generate controller command will also build a test_unit folder, routes, helper, and view aside from the controller itself. It’s helpful but there are instances that we don’t need those files and for cases like this, generate command can take up options to skip the file you don’t want to be build. Lets take a look at the options that we used. Go back to your container terminal and use command rails generate controller --help.
root@0122:/usr/src/app# rails generate controller --help
Usage:
rails generate controller NAME [action action] [options]
Options:
[--skip-namespace], [--no-skip-namespace] # Skip namespace (affects only isolated engines)
[--skip-collision-check], [--no-skip-collision-check] # Skip collision check
[--skip-routes], [--no-skip-routes] # Don't add routes to config/routes.rb.
[--helper], [--no-helper] # Indicates when to generate helper
# Default: true
-e, [--template-engine=NAME] # Template engine to be invoked
# Default: erb
-t, [--test-framework=NAME] # Test framework to be invoked
# Default: test_unit
Runtime options:
-f, [--force] # Overwrite files that already exist
-p, [--pretend], [--no-pretend] # Run but do not make any changes
-q, [--quiet], [--no-quiet] # Suppress status output
-s, [--skip], [--no-skip] # Skip files that already exist
Description:
Generates a new controller and its views. Pass the controller name, either
CamelCased or under_scored, and a list of views as arguments.
To create a controller within a module, specify the controller name as a
path like 'parent_module/controller_name'.
This generates a controller class in app/controllers and invokes helper,
template engine, assets, and test framework generators.
Example:
`bin/rails generate controller CreditCards open debit credit close`
CreditCards controller with URLs like /credit_cards/debit.
Controller: app/controllers/credit_cards_controller.rb
Test: test/controllers/credit_cards_controller_test.rb
Views: app/views/credit_cards/debit.html.erb [...]
Helper: app/helpers/credit_cards_helper.rb
All we need right now is the Controller and its View. The rest of the files are not needed, so we skipped it by following those options listed above.
Your controller is located at app/controllers/welcome_controller.rb. As you can see, it already have an index action, let’s format the code style.
# app/controllers/welcome_controller.rb

class WelcomeController < ApplicationController
- def index
- end
+ def index; end
end
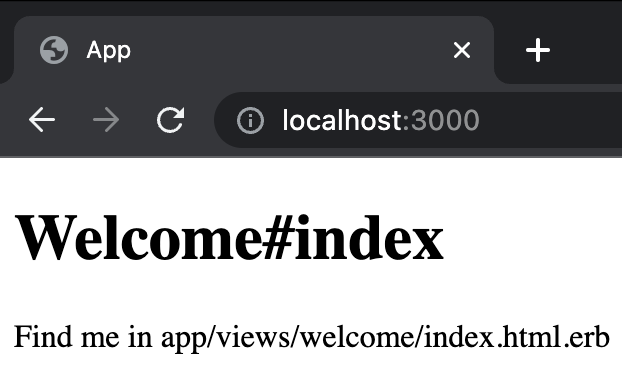
Having created the Controller and View of our welcome page, let’s try accessing again localhost:3000.
View
In the app/views directory, there is a directory for each controller that contains the template files that make up the views related to that controller. The views that are generated by each controller operation are displayed using these files.
As stated on the browser when we tried to access our page, the view is located at app/views/welcome/index.html.erb. Let’s modify your view! Change header to <h1>Hello World!</h1> and the paragraph to <p>Welcome to my page!</p>.
<!-- app/views/welcome/index.html.erb -->

- <h1>Welcome#index</h1>
- <p>Find me in app/views/welcome/index.html.erb</p>
+ <h1>Hello World!</h1>
+ <p>Welcome to my page!</p>
Now try to access localhost:3000 once more.

Yay! You have now created your very first Ruby On Rails page!